Sunday, April 17, 2011

Gluten-Free Beer-Battered Fish Tacos


When I moved to San Diego for school, the locals set out to quickly indoctrinate me show me around and share all of their unique Southern CA favorites. The site-seeing was fun, but the food? ...it was...different. I mean, seriously, they put french fries in burritos here. Strange people! Enter the fish taco.

I sat at an outdoor table at the local Rubio's staring at my first fish taco while a small crew of miscreants cheered me on. They instructed me in the proper preparation (lime, salsa), and eagerly awaited my first taste because they knew what would happen. I honestly can't remember if I liked it. What I can tell you is (as they expected) it became a pretty serious addiction - or at very least a dietary staple that I craved multiple times per week. Since then, I've eaten hundreds of these warm crisp battered fish stuffed into soft corn tortillas dressed with cool cabbage, sauces, and a splash of lime.

It was definitely one of the foods (along with Cheerios and pot stickers) that I would truly mourn the loss of.

So, last time my parents visited, we (mom, dad, myself and Brad) rolled up our sleeves and set off to create the perfect gluten-free beer battered fish taco. They turned out wonderfully! I'm sure you'll know exactly what I mean when I said the first bite was so good I cried.

Amazing Gluten-Free Beer Battered Fish Tacos

Ingredients

Oil for deep frying (we used sunflower oil)
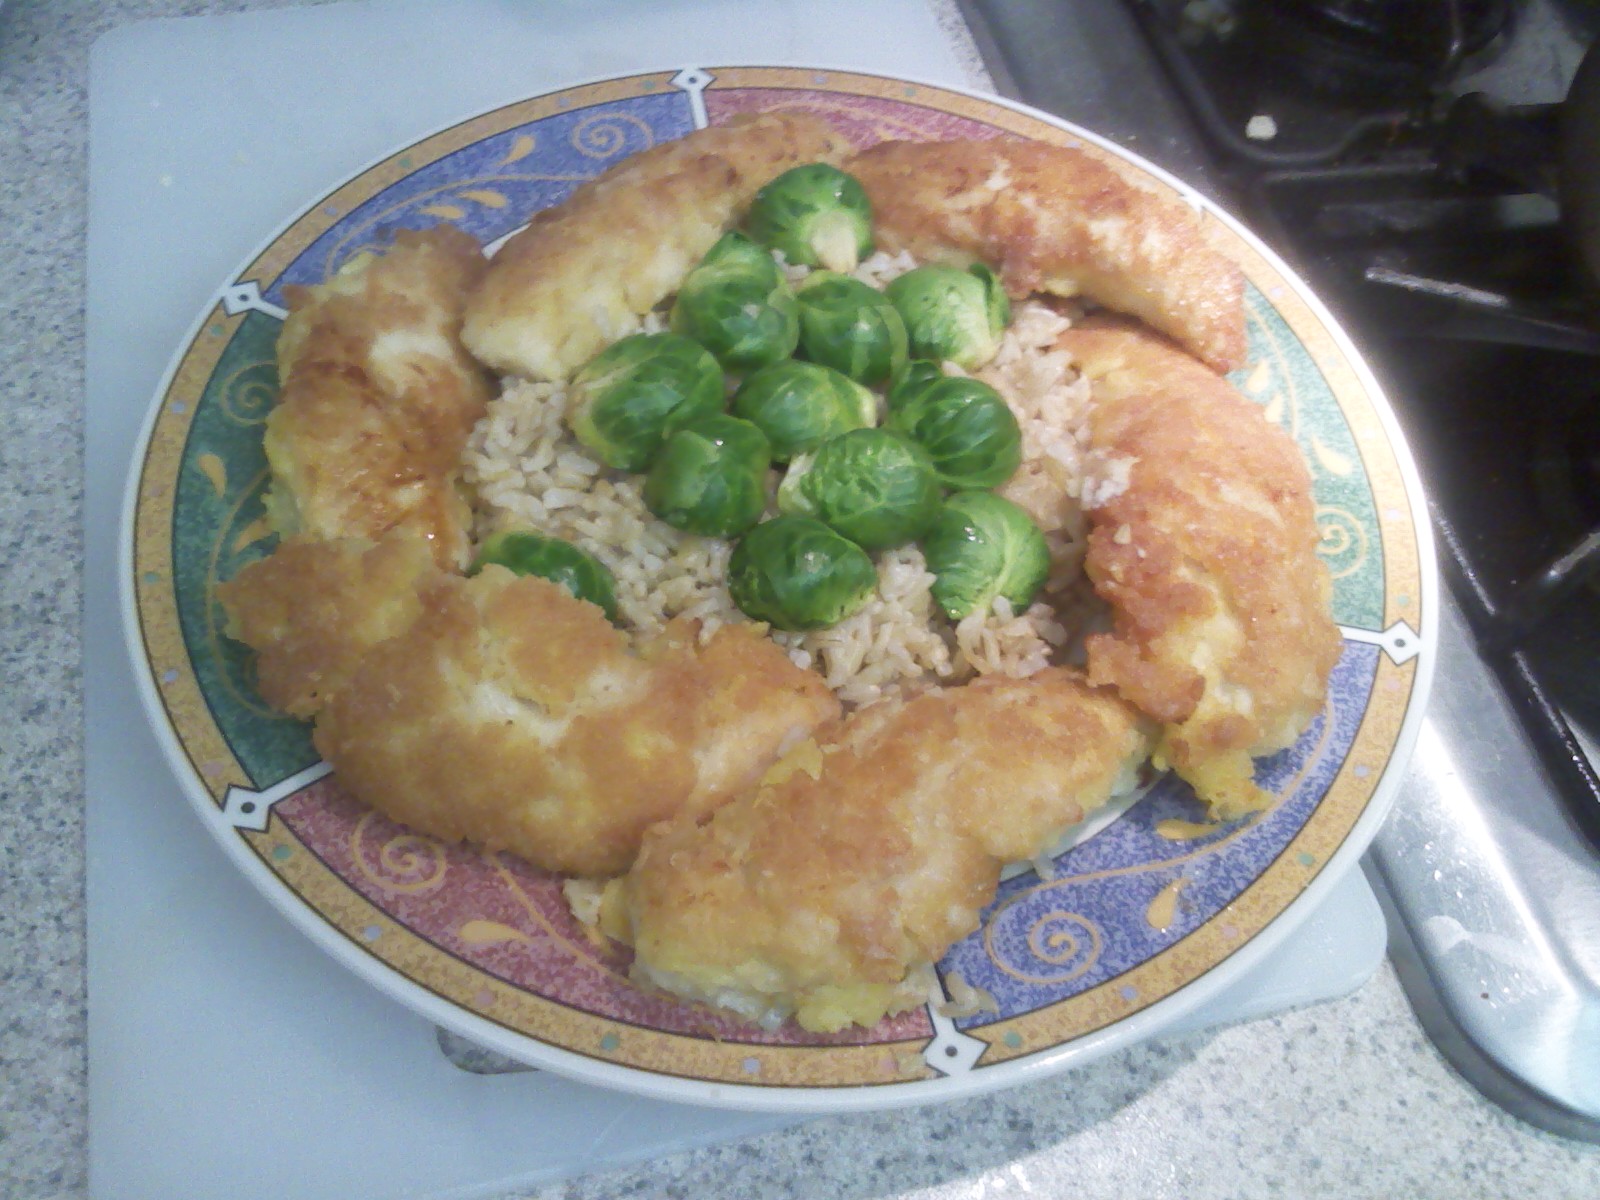
2 lbs fish fillet (any white fish, but cod is best), cut to approx 1"x1"x5"
1 cup rice flour (plus about 3/4 cups for dredging)
2 tsp baking powder
3/4 cup cold gluten-free beer (or carbonated water)
2 eggs
1 tsp seasoning (choose from the following *recommended always)
*salt and pepper
*garlic powder
onion powder
paprika
mexican oregano
cayanne
ancho

Instructions

I recommend preparing condiments and side dishes first, since once the fish frying process is started, it is hard to multi-task.

Optional: Preheat oven to 250° to keep fish warm after it is fried
1. Gently wash fish in cold water. Pat dry with paper towels.
2. Preheat oil for deep frying (350°)
3. Spread approx 3/4 cup rice flour on plate or pie tin for dredging fish
4. Mix remaining dry ingredients in a large bowl
5. Whisk together eggs and beer, then add to dry ingredients and mix until smooth
(Beer will result in a much tastier fish taco than soda water will. We've used both New Planet and Redbridge successfully.)
6. Roll fish pieces in rice flour, then drop in batter. Coat thoroughly.
7. Carefully drop fish into the hot oil. Cook in small batches (2-3 pieces), turning frequently. Cook for 6-8 minutes until the batter is golden brown and the fish is cooked thoroughly.
8. Drain on paper towel, then transfer to oven to keep warm.

Assemble and enjoy!

Dredging the fish

Frying

This particular day, we had many hands to do the work, so we created a true feast. White sauce, lime, and cabbage are the most important ingredients, but for the ultimate meal, I recommend serving with:

-white sauce: sour cream thinned with lime
-chopped cabbage (for an extra kick, squeeze lime on the chopped cabbage before returning it to the refrigerator)
-Salsa Fresca
-more lime (squeeze over finished taco)
-avocado
-cilantro
-seasoned pinto beans (powdered spices: onion, garlic, cumin, salt)
-tortilla of choice (warmed)

Since I can't tolerate corn, we cut up some rice tortillas into a more usable size for a taco

And turned the trimmings into chips (coated with oil/salt and baked at 450° for 5 minutes)

Happy Eating!

Saturday, April 2, 2011

Zucchini Flax Wraps


Taking charge of my health over the last few years has been a truly fascinating experience. Among the many thing that I have learned is that no one person - no one system - has all of the answers. The internet has answers, oh yes! Cures and recommendations I've read have ranged from casting a spell to taking an experimental pill. It seems that any question that can be raised has thousands of answers which may or may not work. I have found, however, that no system should be dismissed entirely. Truth can be found in the most unlikely places: a metaphysicist can teach you to look beyond what you see, an agnostic can teach you to trust yourself, and a follower of religion can teach you to have faith, even if you can't see the road ahead.

As I have been refining my diet to find my optimal fuel, I stumbled across the raw community. While this doesn't seem to be the right complete fuel for me, most raw food is gluten-free. Not only did the raw food train open up my eyes to wonderful new ways of preparing veggies, fruits and nuts, but it has shown me ingenious ways to wrap things! I'm a bit surprised I don't see more of my gluten-free people delving into this world of dehydrators, spiral slicers and soaked nuts.

So, my head experimenter (mom) ordered a dehydrator, a handful of books, and the experiment began!

Zucchini flax wraps are a great bread/tortilla substitute. They are flexible and colorful, not to mention versatile. This recipe, adapted from The Art of Raw Living Food: Heal Yourself and the Planet with Eco-delicious Cuisine is earthy and flavorful. And, if you'll pardon my raw food blasphemy it makes a great grilled chicken sandwich. Although, I'll admit it's plenty tasty without chicken.

Try not to be intimidated by all of the steps if you're new to this. It's really as simple as blend, spread, dry. After you do it twice, you'll be an expert.

Zucchini Flax Wrap Recipe

2 zucchini ("large", by grocery store standards)
1 1/2 cups ground flax seed (Brown or Golden - golden will be a more mild flavor)
1 clove garlic
2 cups water
salt to taste (1/4 tsp)
Fresh Basil (about 2 leaves)
Fresh Rosemary (about 1 tsp)
Fresh Thyme (about 1 tsp)
(alternatively substitute 1 Tbsp dried Italian herbs for fresh herbs)

I use a dedicated blade coffee grinder to grind flax seeds (and other non-coffee spices). You likely won't like your coffee or your flax seed if you share your spice grinder with coffee! You can buy ground flax seed, but it's much, much better to do it yourself (not to mention seeds have a significantly longer shelf life before they're ground).

Process all items except flax in a high powered blender. If you don't have one, get one =) (I love my Blendtec). If you can't get one, process in a food processor then transfer to a blender. You'll need the space when you add the flax seed.

Add the flax seed and blend well. The flax powder will start to soak up the liquid and thicken the mix immediately, so have your dehydrator tray ready to go. You'll need to use the fruit-roll up type of tray.

Spread very thin (1/8 inch) and dehydrate.

How hot? How long? Well, here's the tricky part (which I discovered is tricky as a novice at the art of dehydrating). It depends. The thicker you spread the mixture, the longer it will take. If you have a fancy 9 tray Excalibur dehydrator with side air-flow and Teflex sheets, it will not take as long (4-6 hrs at 105, but you know that already if you own an Excalibur!).

We have a fan on top dehydrator. Here's what we did:
Start dehydrator at 145 degrees for one hour. Reduce temperature to 105 (You can skip the step, of starting it at a high temp, but it does speed up the process).
Walk away from the dehydrator. Come back in a few hours (4 or so) and flip the wraps onto the regular tray. Dehydrate for three more hours. It's really a fairly forgiving cooking method, but it will take a some paying attention to psyche out your dehydrator.

OR

Set dehydrator to 105 and leave it on all night. Wake up and wrap lunch to go!

Your wraps are done when they feel like a tortilla - flexible, but not wet. If they dry too long, enjoy your zucchini flax crackers!

But it seems like SO much work! It's not. Remember, blend, spread, dehydrate. These will keep up to 30 days in the refrigerator.

Serving suggestion:

Fill wrap with:
Ripe avocado - spread on wrap (the moisture is helpful. If you're making the wrap ahead of time, it's best to save this step until you're ready to eat it)
Grilled chicken (lemon/pepper is delicious)
Dark leafy greens
Grilled or fresh onion
A squeeze of lemon

Enjoy!

Sunday, January 30, 2011

Fresh Heirloom Tomato and Cilantro Salsa

It's spring in San Diego. Never mind that it's still January -- ten straight days of 70+ degree weather -- winter has left the building.

I have a new Sunday addiction. The local farmers market. We have a beautiful, large market in town that has fresh produce, flowers, local products, plus rows of booths with pre-cooked foods - most of which I can't eat. I was surprised and pleased to see a new booth of corn-free, gluten-free desserts that looked wonderful! Of course, I had my eyes set on a snack from Peace Pies, a raw, vegan, organic gluten-free local shop that sells everything from lemon bars to falafel. And of course, their signature pies.

The other thing I'm addicted to on Sundays is sleeping in. That makes these two addictions fight a bit, because by the time I'm fed, dressed, and fed again, it's a race to make it there in time. (Fed = mornings are rough. I wish I could just hook up a feeding tube for mornings! Getting food in me in the am is a little like giving my cat a pill. But that's a story for another time)

As I walked past Peace Pies booth today a few moments before closing time, they were mostly sold out. Fortunately, a lone lemon bar reached out and grabbed me. My mouth and stomach are still thanking it for being so forward. My wallet thanks it for keeping me from buying everything I in sight. Don't shop when you're hungry, right?

I've taken a hiatus from tomatoes for a while. All nightshades, actually. But, I've been reintroducing them, and it seems to be working out so far. Thank goodness, because the heirloom tomatoes were out in full force today. Beautiful, colorful, and placed close enough to the cilantro to firmly plant the idea of fresh salsa in my mind.

Brad is kind enough to cart chauffeur me to the market, smile nicely at my excitement over the ripe avocados, and carry armloads of whatever my impulse buy of the day is. He is also kind enough to talk me out of the supercoolhavetohaveitrightnow items that I really shouldn't spend my money on.

We made out with a sack full of goodies for the week, mostly revolving around Mexican flavors. I picked up an organic pepper and asked the man behind the counter what it was. "Poblano". That sort of rang a bell...and sounded spicy. I figured that would do for salsa.

When we got home, I needed salsa. I needed salsa now. We fired up the bbq, preheated the oven for chips, and off we went.


Fresh Heirloom Tomato and Cilantro Salsa
The camera doesn't do it justice. It's really beautiful.


I should say here again that both Brad and I are just now starting the adventure of learning how to cook. We've mastered which end of the knife to hold (usually), and can often avoid repeating the same mistake. repeating the same mistake. repeating the same... When we come up with something great, however, it is a moment to rejoice. So, I'll share this moment with you.

This salsa is wonderful.

Ingredients:

Five medium tomatoes
Juice of one half of a lime
One half a medium onion
A little bit of a grilled poblano pepper
A few sprigs of cilantro
Salt
Black pepper (optional)

About the poblano pepper - This was our first time cooking with one of these tasty-spicy characters. Once it's open or cooked, you shouldn't handle it with bare hands. We used plastic wrap and knife and fork. It really wasn't hard, and thanks to the kindness of some youtube cooks, we didn't screw it up too much. You might want to find an instructional video, but in short:

Grill (on BBQ or gas stove) or broil pepper until it's charred all over. Remove from heat and place it in a ziplock baggie or plastic bag (a covered dish would work) for five minutes. This will help the charred skin separate from the insides.

After five minutes, slice the pepper halfway though, down it's long side. Cut off the top and remove all of the seeds. If you don't, You'll have unpleasantly hot salsa.

With the knife, scrape the cooked flesh (the inside) off the charred skin. We found that for perfectly medium (towards mild) salsa, a one-inch square of pepper was just right.

While the pepper is cooking, dice the tomatoes and onion.

Combine tomatoes, lime juice, onion, salt and pepper, and poblano pepper in a bowl. Make sure that the poblano breaks up and stirs in evenly. You can always add more poblano, but you can't take it away once it's in there! Use some caution.

Chop and add the cilantro (cilantro tastes best newly chopped - it gets that old soapy flavor if you let it sit).

If you can stand to let it sit in the fridge a while, do... the flavors will combine nicely. But, it is best to add the cilantro just before serving.

Enjoy!

Now, if you're curious what it would look like from a food processor:


It's not quite as pretty as the salsa fresca style, but it still tastes good, and if you don't like biting into onion pieces, this may be better for you. The orange color is from the variety of tomatoes we used with oranges and yellows marbled with the red. It's pretty runny, so it would be good poured on something with nooks and crannies. We ended up straining it since it was so watery. I suppose a pro might seed and core the tomato... but I don't mind the juicy stuff.

Friday, January 28, 2011

Traveling Gluten-Free

I'm a risk taker about a lot of things. Real estate investment? Go for it. New job? Sure. Performing in front of ten thousand people? Bring it on! I won't take risks about my food though. A few places "get it": Disneyland, select restaurants in Del Mar, Seattle, and New York...and pretty much most of Italy. But other than that, I like my food from my own kitchen.

The last way I want to spend my vacation (or business meeting, or...) is doubled over on the bathroom floor, or rushing off to the local ER to get a dehydration-fighting IV. I mean, I'm sure the local nurses are nice and all... but if I'm going to take changes I'm going to take them with the comfort of my own bed and team of caretakers nearby. At least for now. Maybe I'll take more chances when I'm healthier.

This is difficult when traveling, though. There are a few great go-to travel snacks that don't need refrigeration: Rice Thins, San-J Crackers, my favorite Boulder Potato Chips... but those certainly won't sustain me through a weekend. My trusted consultants and wonderful man have put our heads together to find some travel tricks that work. The first trip we took required a solid week of planning. I'm glad to say our last short weekend jaunt took us two short hours to pack and leave (including clothes, etc). Plus one quick grocery trip.

On our first multi-day trip, the man (let's call him Brad) and I found gorgeous accommodations with a full kitchen. We packed an entire large suitcase of kitchen supplies which we lugged across the country. Now, I'm not sure how avoidable some of that is, but we're learning to narrow it down.

The last trip we made was a short car trip. We got away with one bag of food and one bag of kitchen supplies.... though there was no kitchen at the hotel.

On this trip, we brought:
One-Serving Blender (for breakfast smoothies)
Travel Spice Holder
Rice cooker with steamer basket
A paring knife
Small cutting board (sometimes this kind)

Plus aluminum foil, disposable dishes and silverware.

Since this was our first experience cooking a meal with a rice cooker, we kept it simple.

We first measured rice and water as usual, then started it in the cooker with the lid on.
Then Brad chopped garlic, carrots, celery and zucchini.


Then we built a little aluminum foil basket where we steamed the veggies with a big pat of butter.


The veggies were cooked perfectly - sweet and just the right amount of soft. Mmmm.

When that was finished, we dumped in some black beans to heat which we served with a sour cream dip - (we added onion and garlic powder to each). Oh, one more thing... we steamed an extra whole clove of garlic to mix in with the sour cream dip. Then ate it with the aforementioned addictive potato chips.

It was a great experiment and we're learning more all the time.

Turns out, there are experts in rice cooker meals ... there's an entire sub-culture of people that cook this way! Why didn't I look this up when I thought of it?

Beautiful meals! Are you kidding me? NY Times did this writeup.

Consider me humbled. Next time I travel (or I'm stuck in one of those bad dorm rooms at a conference), I'm packing the rice cooker.

Happy Travels.

Thursday, January 27, 2011

World's Easiest Chocolate Almond Butter Cups

Even though there are a lot of gluten-free foods and candies on the market, I've tried hard to avoid processed foods. Generally I've become a big fan of knowing exactly what I consume. I'm still learning which brands to use and which to avoid, but since I'm not going to buy a farm where I can raise my own livestock and grow all of my own products, I have to buy from someone!

The other day I was craving candy. That doesn't happen very often, but I thought I'd make a little something to satisfy my sweet tooth. This tasty treat also happens to be vegan, casein-free, gluten-free and pretty darn satisfying.

Simple Chocolate Goodness


With a wonderfully gooey almond center


Ingredients:

Chocolate chips
Almond butter

Yes, it's that simple. But, the type of chocolate and almond butter you use will very much change the outcome. The chocolate chips I used were semi-sweet, but they have quite a rich, dark flavor. I used Chocolate Dream which fit the allergen-free profile.

As for almond butter, I used salt-free, crunchy Roasted Almond Butter Sounds boring, I know, but the roasting and the crunch makes it just right.

I dare you to eat just one.

How it's done:

If you are a normal human that doesn't have a bunch of gadgets in your kitchen, take a metal mixing bowl and set it on top of a sauce pan with water in it. Take care not to get any water in the chocolate! You won't like the result. Turn the heat no higher than medium low to keep the water just at a simmer. Pour chocolate chips into the top bowl and stir until melted. At this point, if you're feeling feisty, feel free to add in anything that sounds fun into your chocolate: butter, a bit of vanilla, heck, crumbled up bacon. Turn off stove.


Now, spoon the bottom layer of chocolate into baking cups. Muffin-size cups will give you Reese's size candies. Mini cups are fun and less guilt-inducing. It's easiest if the papers are set in a muffin tin... I just didn't have one handy.


Give the pan a little tap or two on the counter to even out the chocolate. Then stick it in the freezer for a minute or so so it hardens. If you can't find a place balanced on your frozen pizzas, you can put it in the fridge... it just might take a bit longer.

If plain almond butter doesn't float your boat, now's the time to add mix-ins. A dash of sugar and salt, or some cinnamon, maybe some dried cherries...

After removing the chocolate from the cold, spoon a half teaspoon or more into the middle of the chocolate cups, taking care not to smudge it on the edges, lest you have leaky cups!

Cover the almond butter with the still-warm melted chocolate. Put the finished product back in the refrigerator (if you can stand it!), and after it's set up, you're in business!

EDIT: I just found out Maranatha is giving out nut butter: http://simplysavor.com/who-wants-4-free-jars-of-maranatha-nut-butter/#respond Excellent!

Enjoy!

Sunday, January 16, 2011

Music Heals

A couple of years ago, I got sick. I don't mean the flu or a cold, but really ill: too week to lift my hand to mouth to feed myself serious medical condition type of sick. I'll tell my story later, but turns out I was poisoning myself by eating gluten, and my body had become so malnourished that I couldn't function. Yay Celiac Disease. It was tiring to breathe. Fortunately, that part of my autonomic nervous system was stubborn enough to keep me going.

I spent quite a few months as a walking zombie. It would be a long road to diagnosis, and I was fortunate my wonderful family and friends stepped in to help. It was pretty tough to get out of the house, but it was a necessity to keep my mind from imploding while my body tried to figure out what's up.

When I was able to gather the strength to dress and get out, I was driven straight to Chorus Rehearsal where I sat myself down in front of my singing sisters to listen. Live music. Live music made by the human voice. The a cappella harmony massaged my bones, muscles, and organs and for a few brief minutes, I forgot my pain.

Recorded music doesn't cut it. There's something about being in the room with the warmth and the smiles and the resonant *ping* that heals.

Our chorus has seen each other through births, deaths, adoptions, divorces, marriages, cancers, strokes, dementia, unemployment, and anything else that happens to one-hundred women. We've laughed and cried about it all. The friendship is great, sure, but you can only talk so much about your problems. Taking a deep breath and joining together in song is where the healing happens. Especially when you can share that music to help heal others.

Gluten-Free Parmesan Chicken

My brain works much better when my stomach is full. It seems that keeping it that way is a bit of a challenge, when I'm hungry I get a little distracted. I think I just saw a hummingbird. Warm winters here...

Where was I? I am not the type of person that can eat the same thing each day. While "variety is the spice of life" is a nice thought, I think it's more of a necessity than a spice. It keeps me from that robotic auto-pilot state where time passes and suddenly no one knows what year it is.

I get tired of chicken...but I really like this recipe. Especially with some nice fresh free-range organic chicken.

Gluten-free batters are touchy...it's hard to make them stick. The trick for this one is to leave it alone once you set it down, and don't cover it! Seriously, don't cover it... Unless you REALLY want to make gooey rice-paste clumps. You don't.


PARMESAN CHICKEN
6 boneless, skinless, chicken strips (tenders)
3/4 cup white rice flour
1/4 cup potato flour (starch)
1/2 cup finely shredded parmesan cheese
1/2 tsp salt (to taste)
1/2 cup sunflower oil
1 egg
1 Tbs warm butter
1 Tbs milk
(Spice options: add garlic powder, onion powder, paprika, black pepper, or some cayenne if you like it spicy. It's also tasty with some fresh herbs like rosemary or basil)

Mix flours, cheese, and spices in a bowl.
Preheat oil (I like sunflower for this) in large fry pan to medium low heat.
Beat egg, butter, milk in separate bowl to form batter.
Dip each chicken strip into batter, roll in flour mix, lay carefully in heated pan.
Fry uncovered slowly on first side until golden brown, being careful not to overheat, about 10 minutes.
Lower heat, turn and fry on second side until brown, about 5 minutes

Tonight we ate this chicken with some brown rice and lightly sauteed tiny brussels sprouts. Squeeze a little lemon over the sprouts, add a dash of salt and pepper, and you're done. Fresh parmesan, too, if you love cheese. Have I mentioned I love cheese?